
GET STARTED
Set up your VEGAboard in 5 easy steps
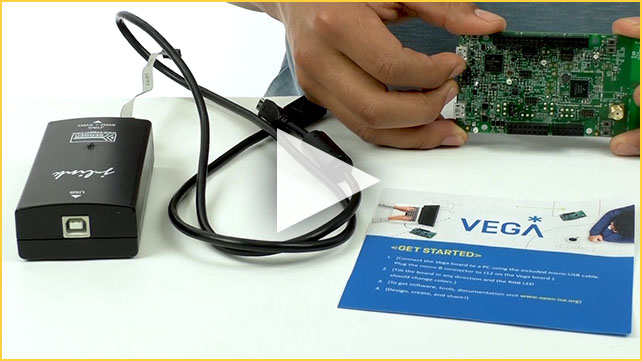
STEP 1:
POWER UP
What you'll need (all included):
- VEGAboard
- USB micro-B cable
- instruction sheet
Connect the micro-B end of your USB cable to the J12 connector labeled: OpenSDA; plug the opposite end into your computer. Tilt the VEGAboard in any direction to verify that the tri-colored LED changes color.
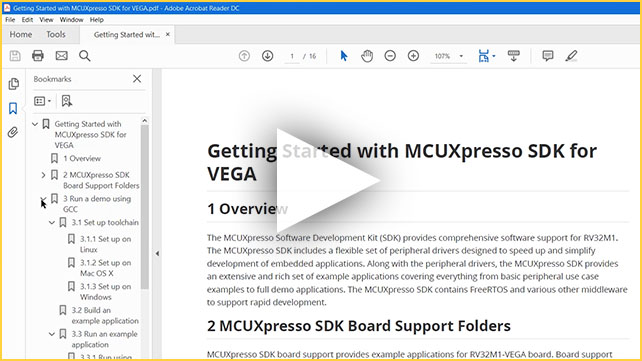
STEP 2:
DOWNLOAD YOUR SOFTWARE
Your board is revved up and ready to go. Time for your starter software. Here’s everything you need to debug, develop and design with RISC-V:
- Software Development Kit:
RV32M1_sdk_riscv for Windows
RV32M1_sdk_riscv for Linux/Mac - Toolchain:
OpenOCD and GCC for Linux
OpenOCD and GCC for Mac
OpenOCD and GCC for Windows - Serial Port Driver (Windows only):
Mbed driver - Integrated Development Environment:
Eclipse IDE for C/C++ Developers with latest release of GNU MCU Eclipse Plug-in
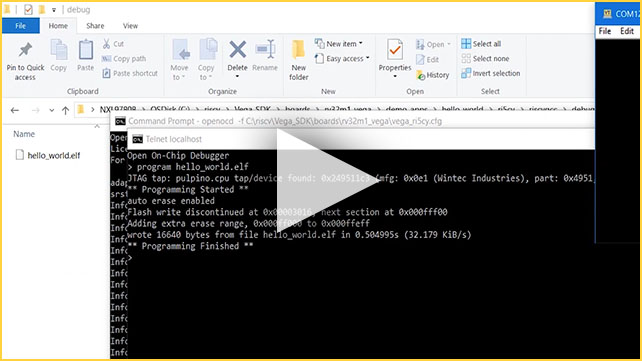
STEP 3:
BUILD YOUR DEMO
Board, check. Software, check. Let’s compile your first demo!
STEP 4:
DO YOUR THING
Every VEGAboard experience is unique. These resources will show you how to use your board’s base enablement to create your own custom applications.

STEP 5:
GO BEYOND BASICS
Get all the tools you need to take your VEGAboard to the next level. See everything you can design with RISC-V.
VIEW DOWNLOADS VIEW DOCUMENTATION